We are offering FREE 5MM Mouthpiece fitting sessions
when you visit our Denver, Colorado showroom
We no longer offer exchanges or returns on shipped 5MM kits and components
when you visit our Denver, Colorado showroom
We no longer offer exchanges or returns on shipped 5MM kits and components
Our system is your solution

The Harrelson Modular Mouthpiece System was designed to fine tune your setup quickly and easily. By creating configurations previously not possible, new discoveries may be made revealing improved comfort, tone, projection, accuracy, endurance and range.
1) Order your mouthpiece
2) expert advice via phone, email or ZOOM
3) Test any 5MM variations in our shop to find the perfect setup
We recommend starting with components close to your current setup
with Cup shape, Throat diameter and Backbore variations.
with Cup shape, Throat diameter and Backbore variations.
All components are available in every variation for Trumpets in Bb, C, D, Eb, Piccolo, Cornet & Flugelhorn.
(French Horn, Trombone and Tuba will be introduced in 2023)
(French Horn, Trombone and Tuba will be introduced in 2023)
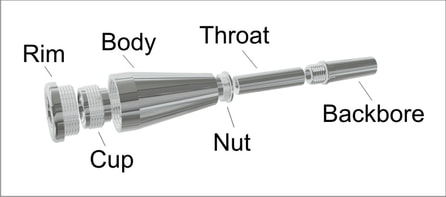
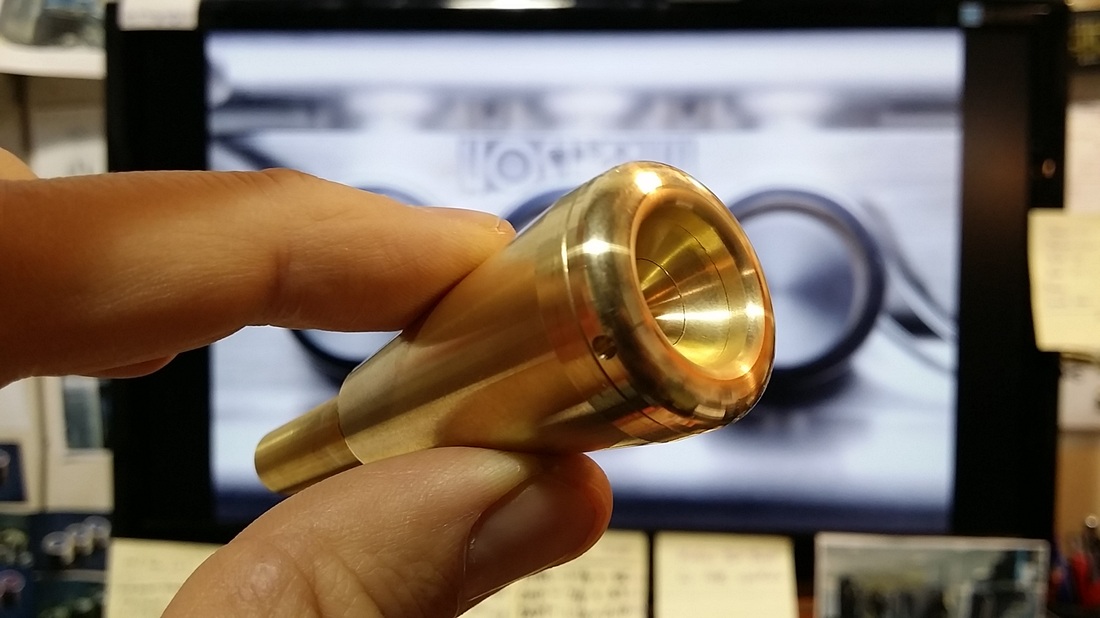
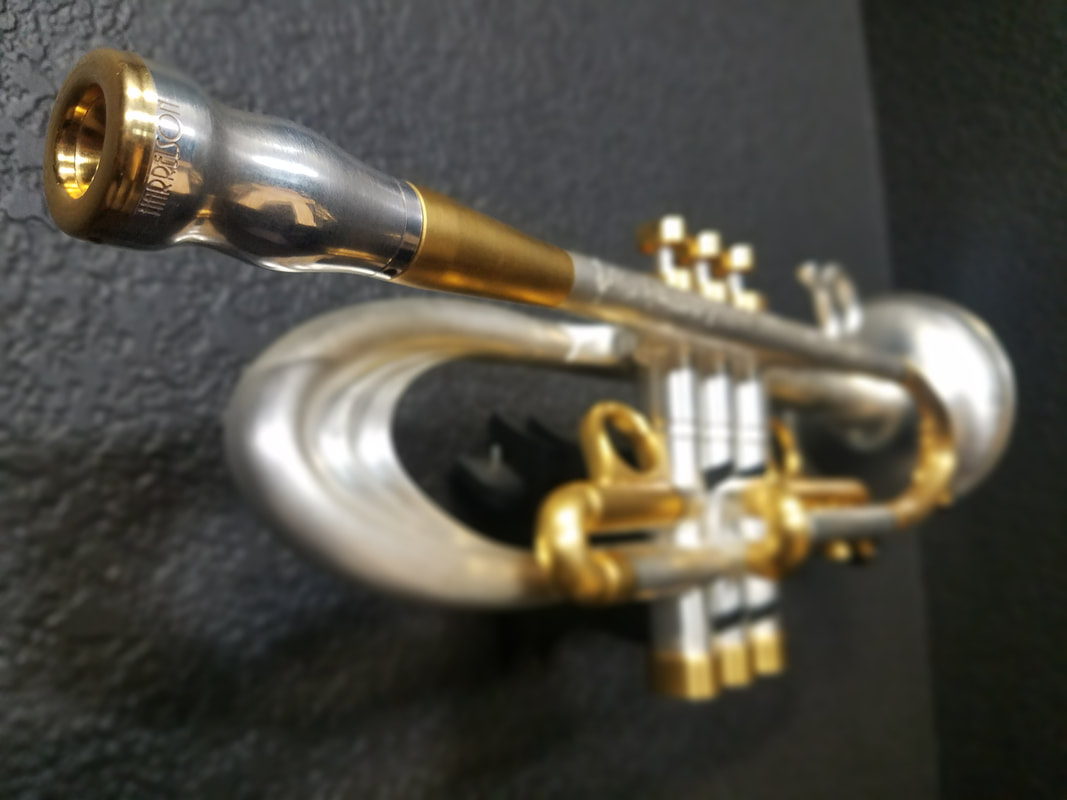
What is the 5MM System?
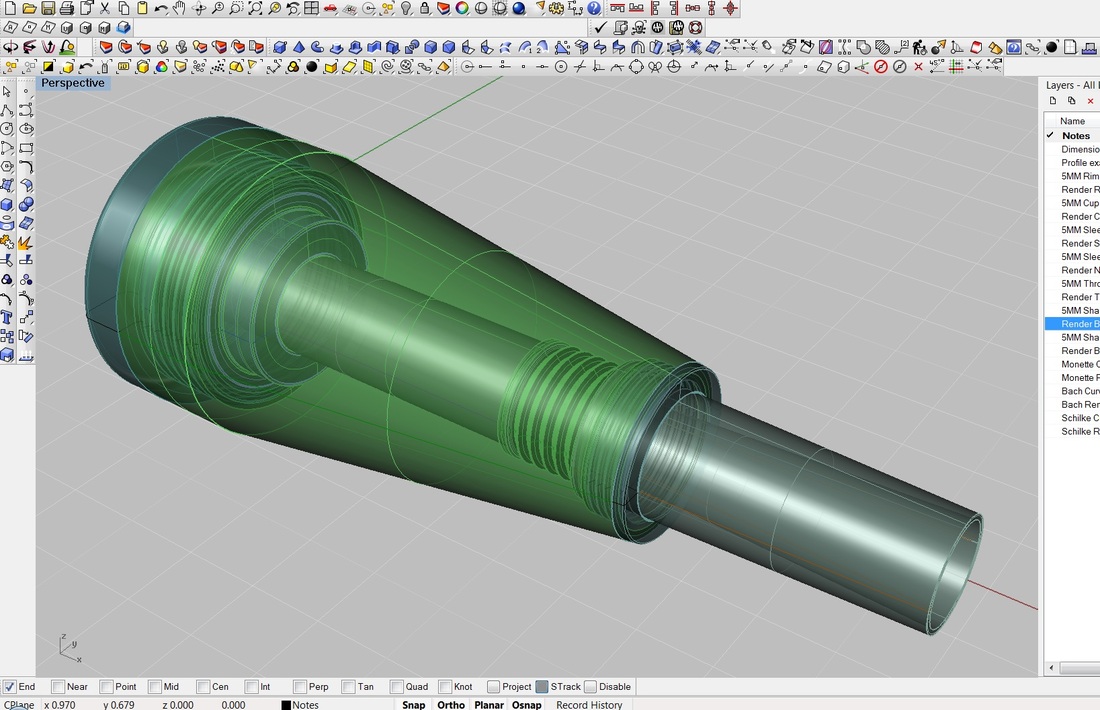
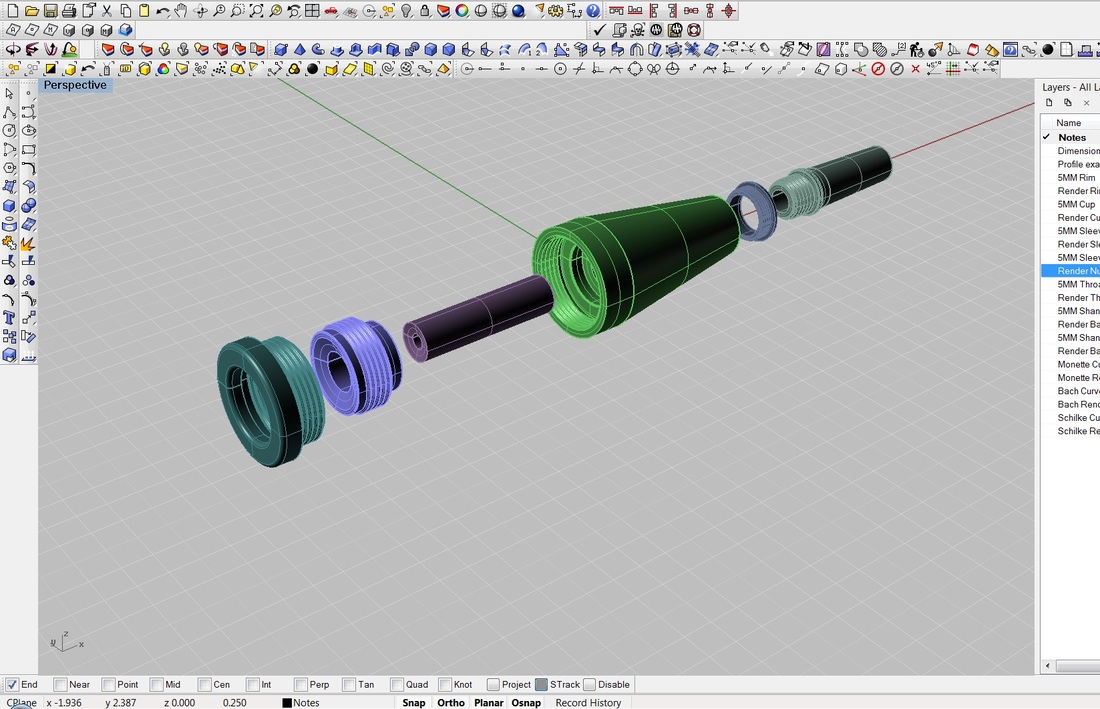
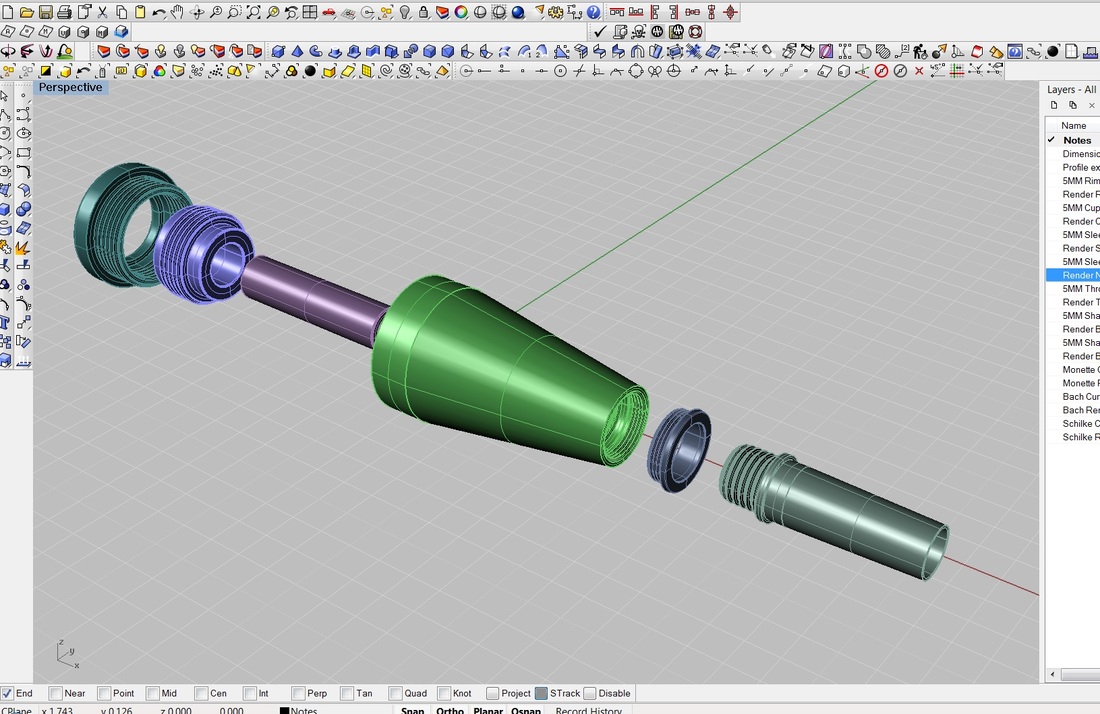
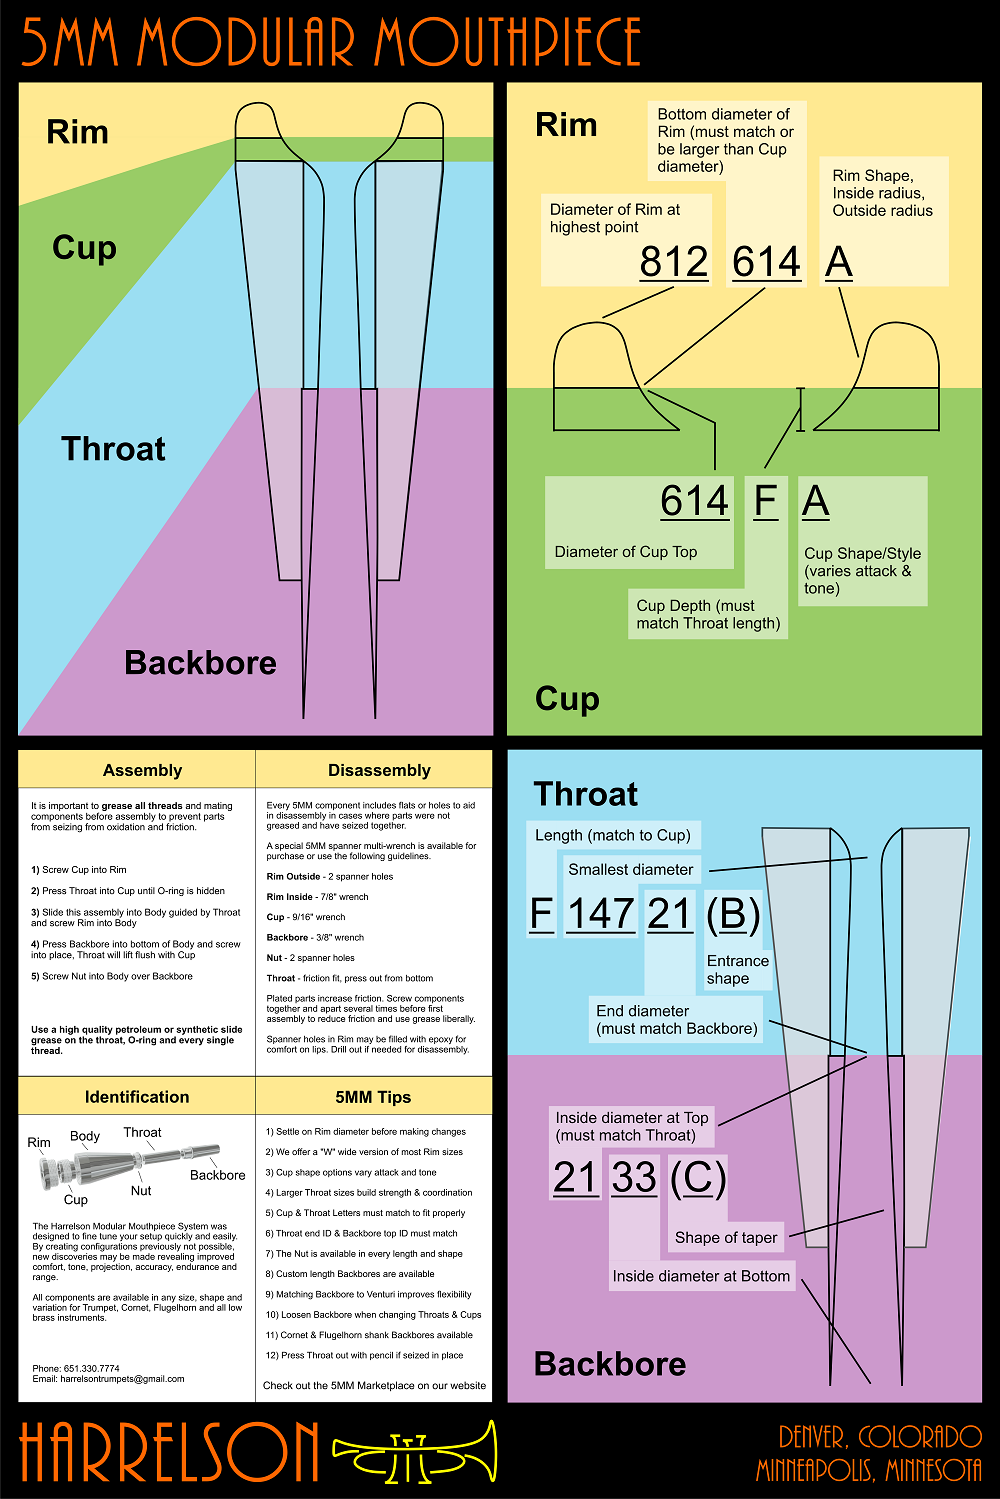
The "5" represents the five major components of the mouthpiece that determine comfort, playability, tone, projection, intonation tendencies, etc. These are the Rim, Cup, Throat, Backbore and Body. The "MM" refers to Modular Mouthpiece meaning "5MM" is a 5-piece Modular Mouthpiece system. There Nut is the sixth component, which prevents the Backbore from coming unscrewed and fills the visual external gap to the instrument receiver.
Read an in-depth explanation of every 5MM component and application here... What is the 5MM System?
Read an in-depth explanation of every 5MM component and application here... What is the 5MM System?

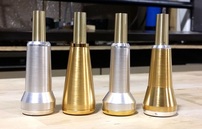
5MM Photo Gallery
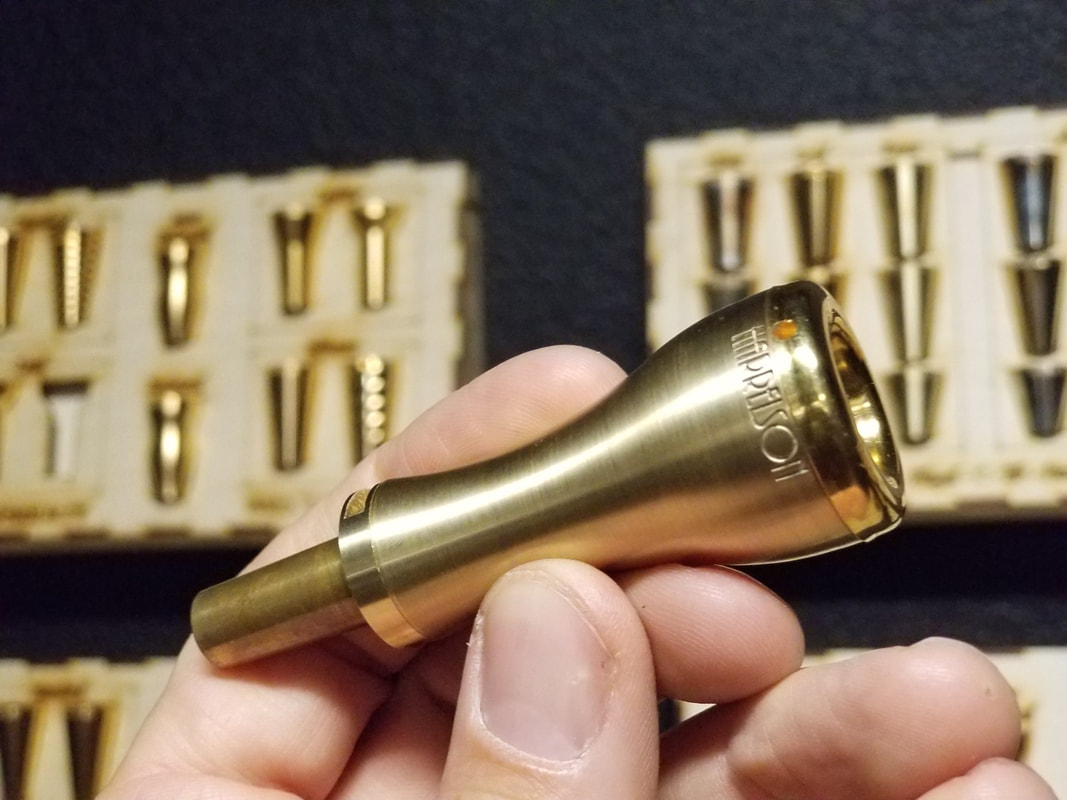
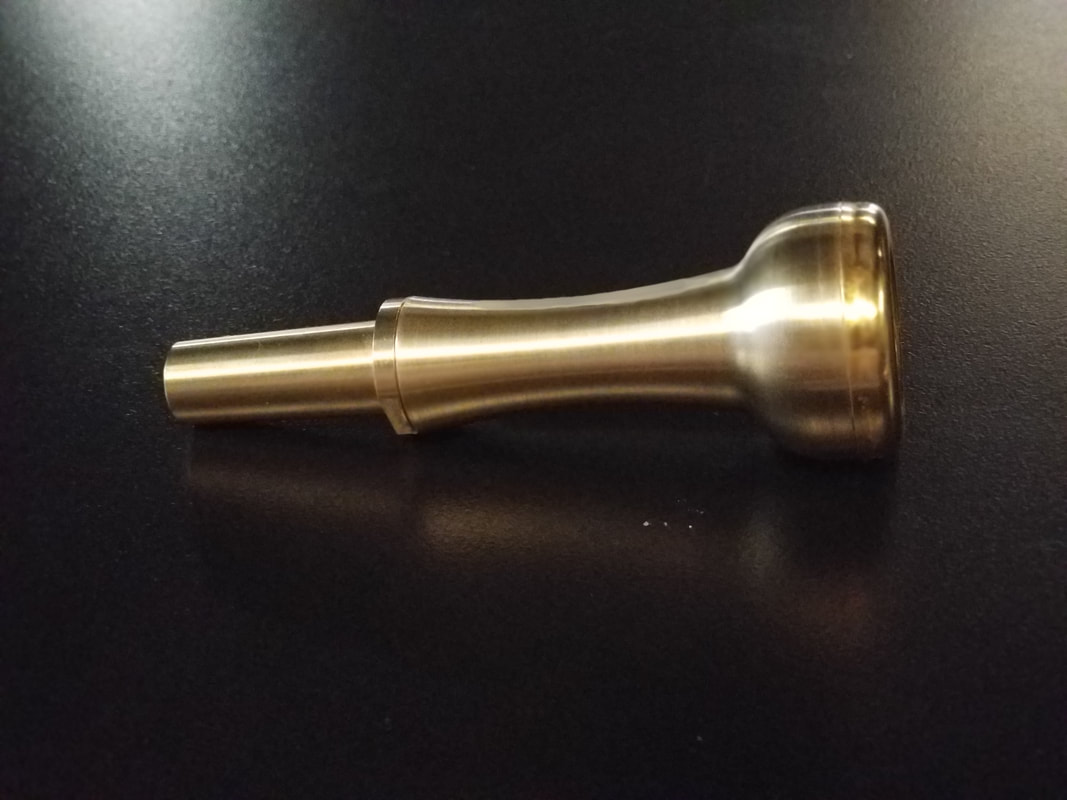


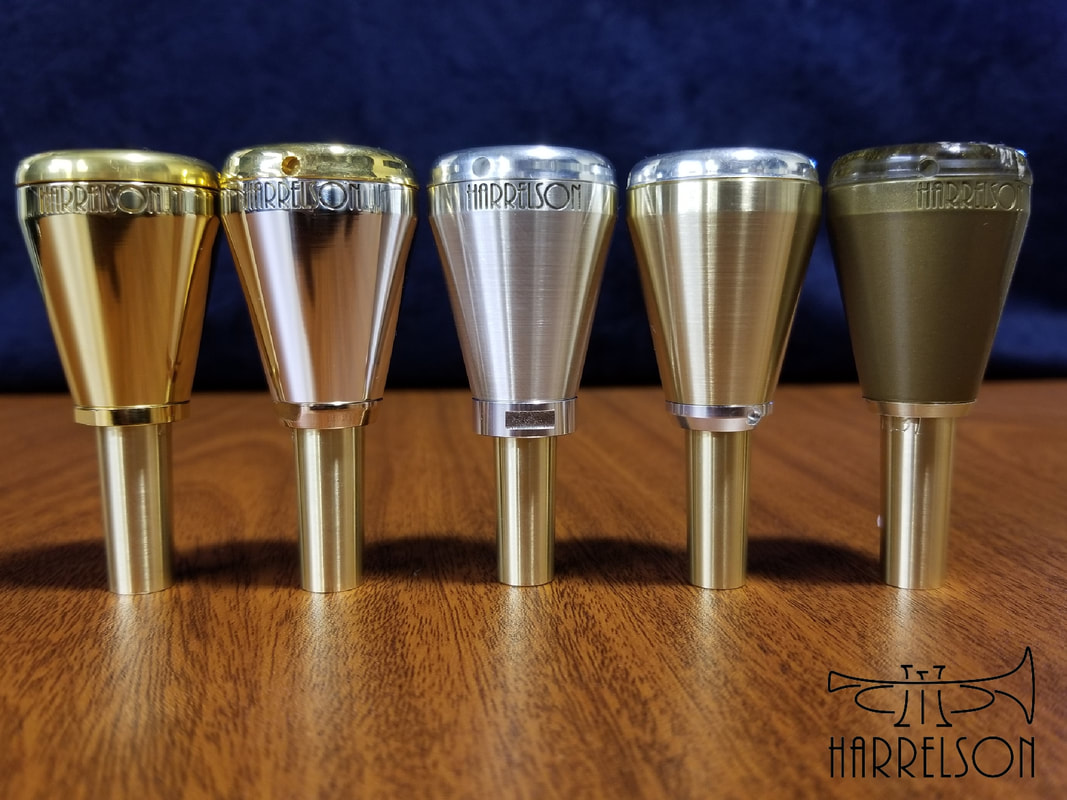
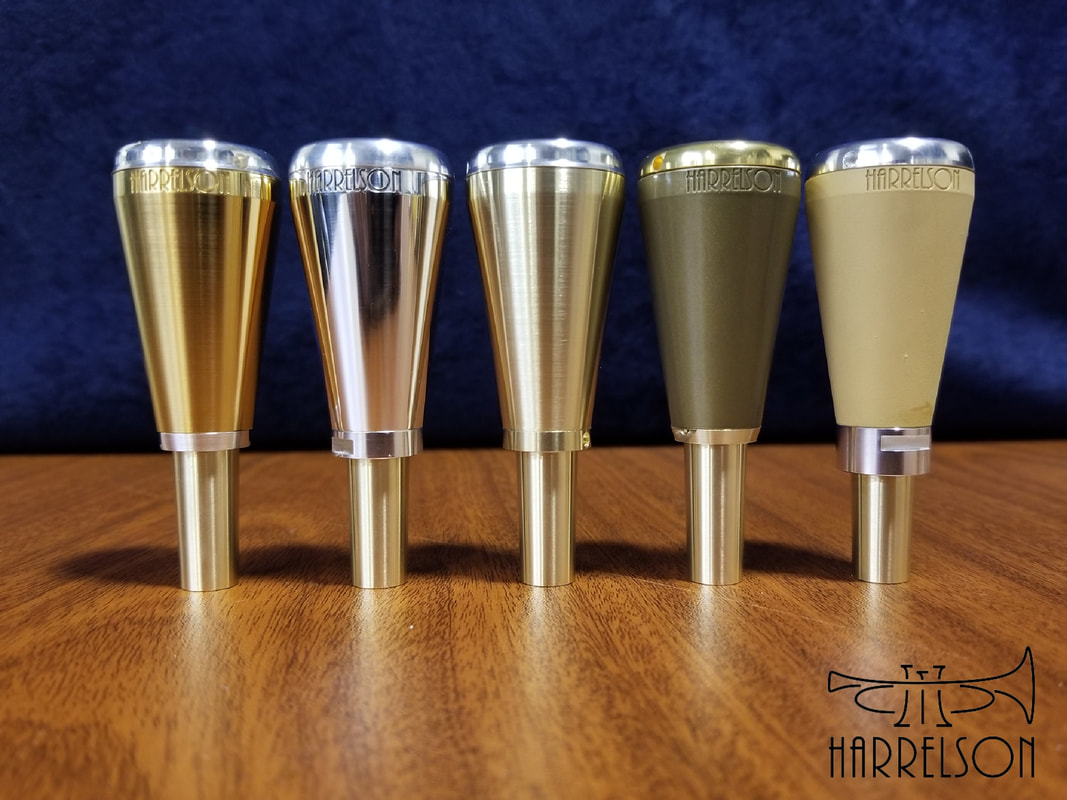
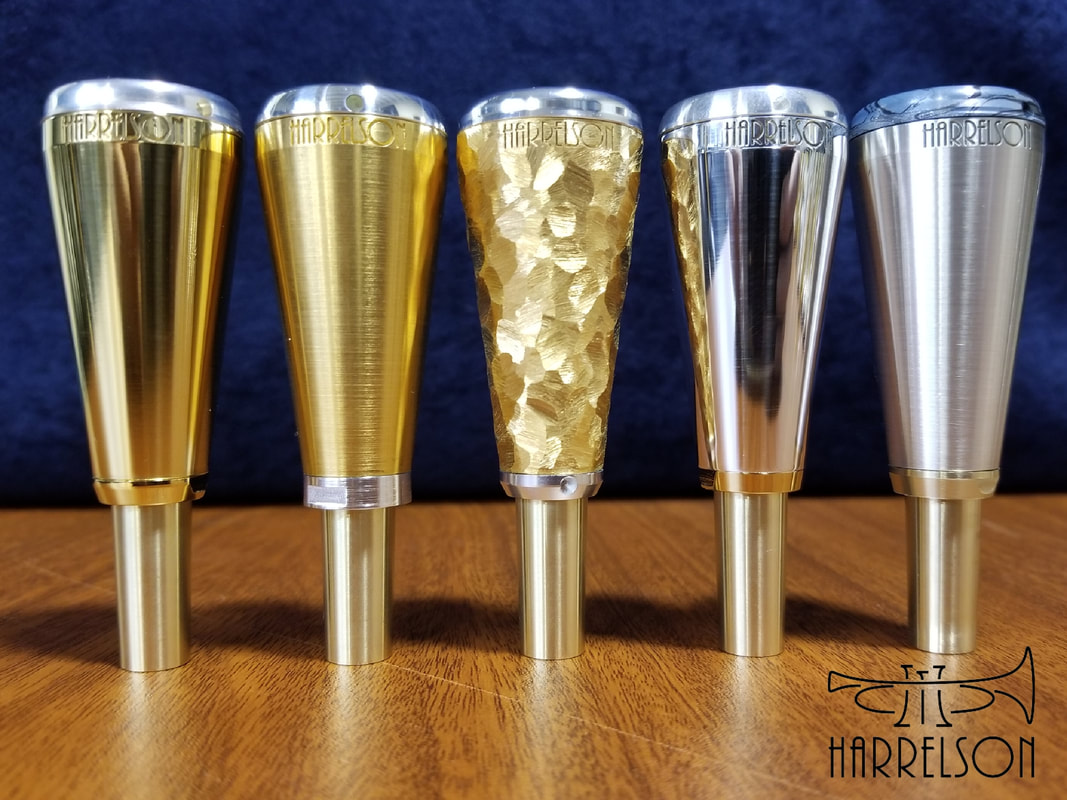
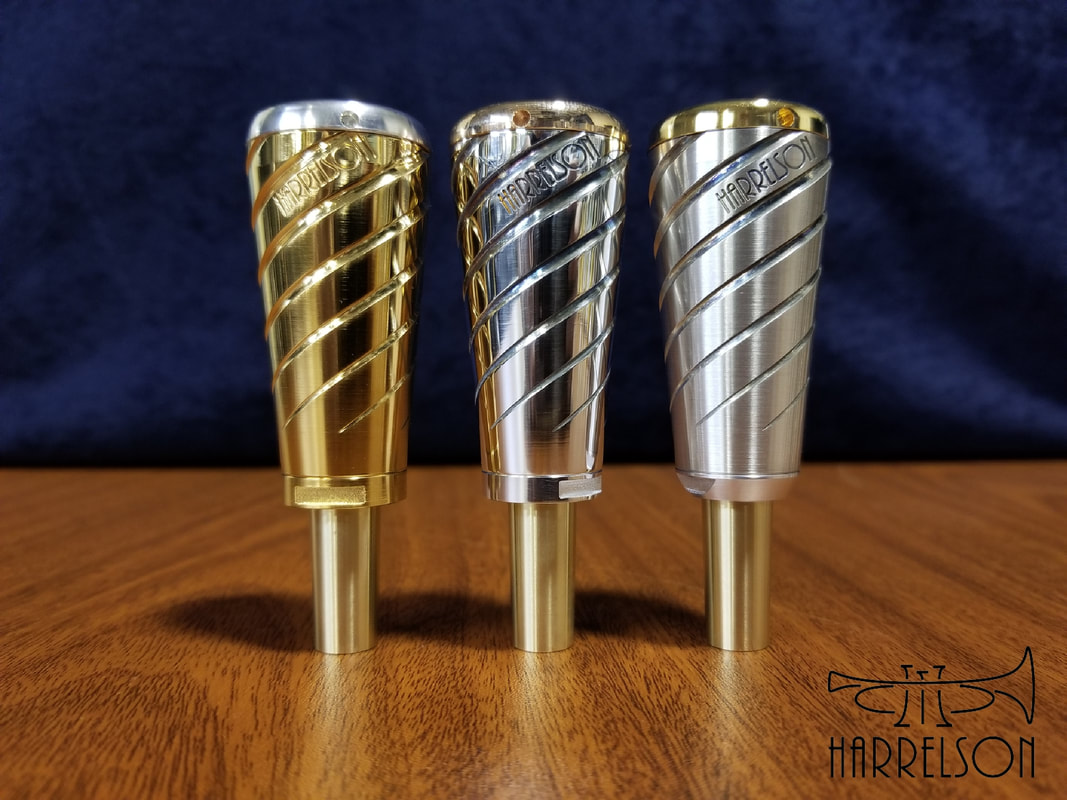
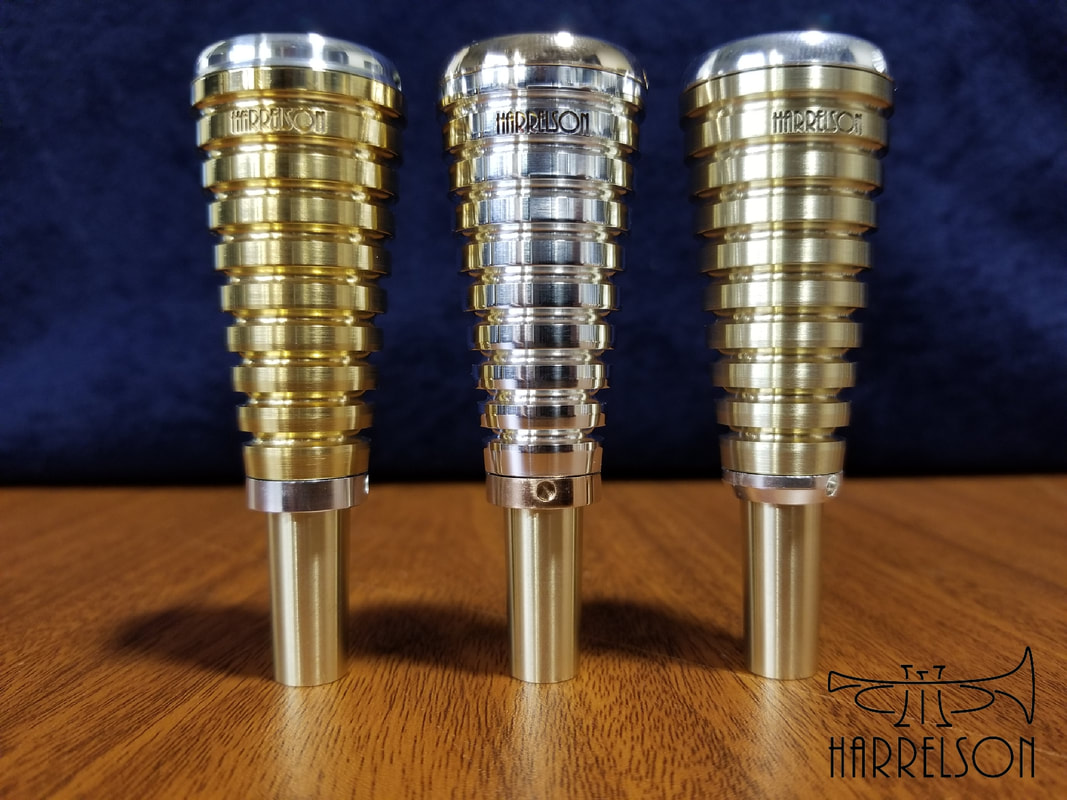
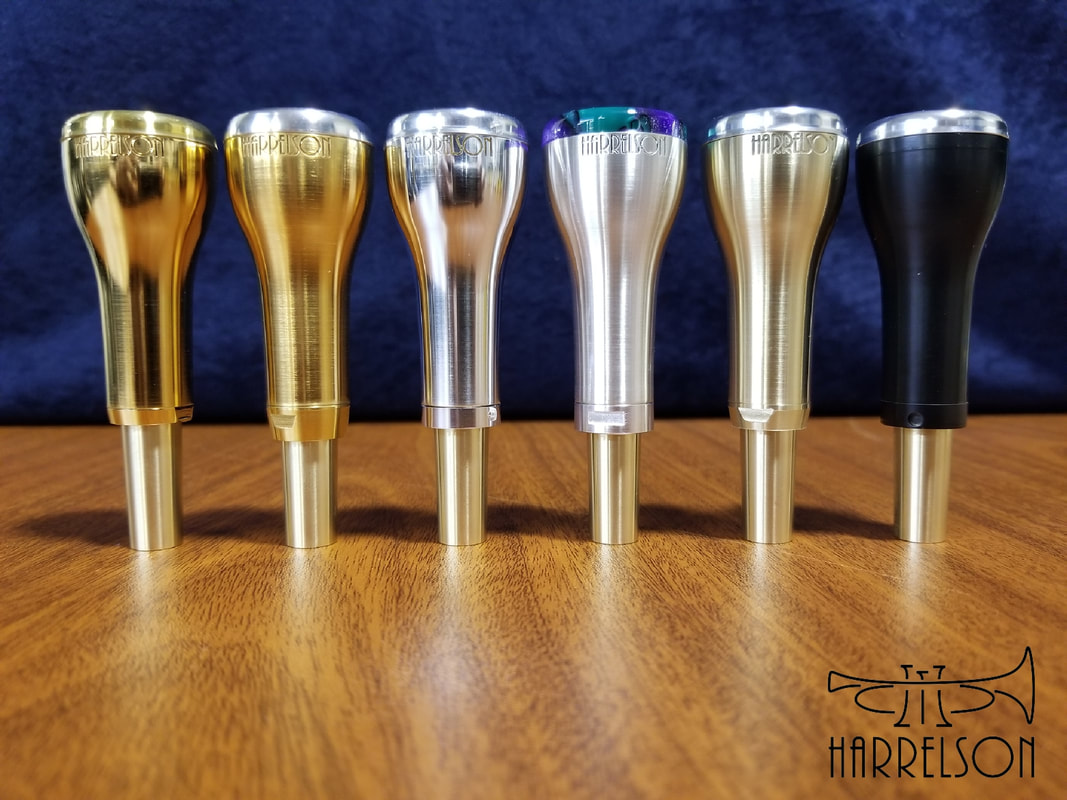

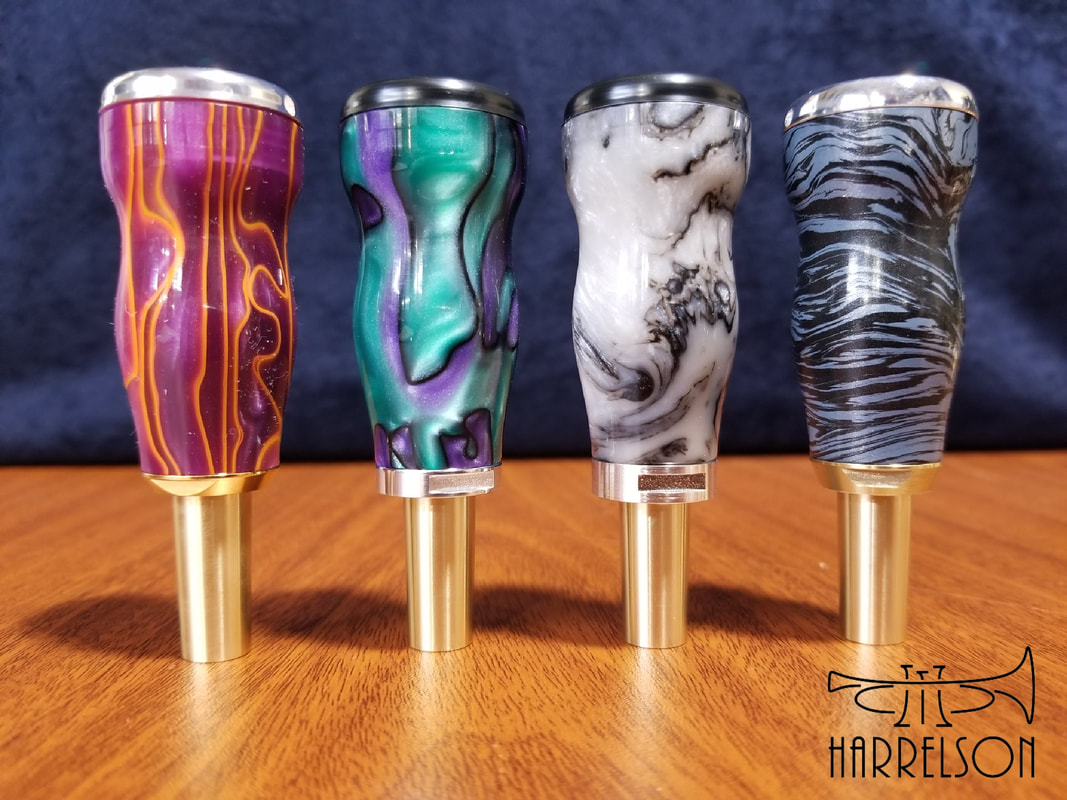
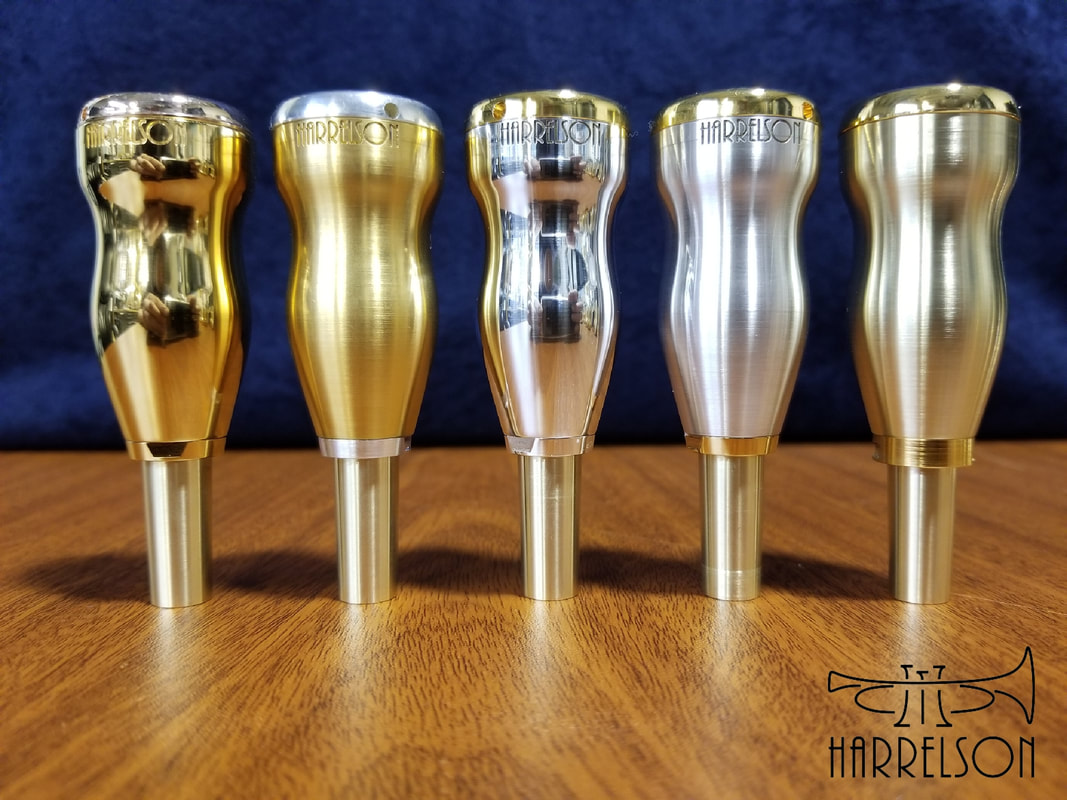
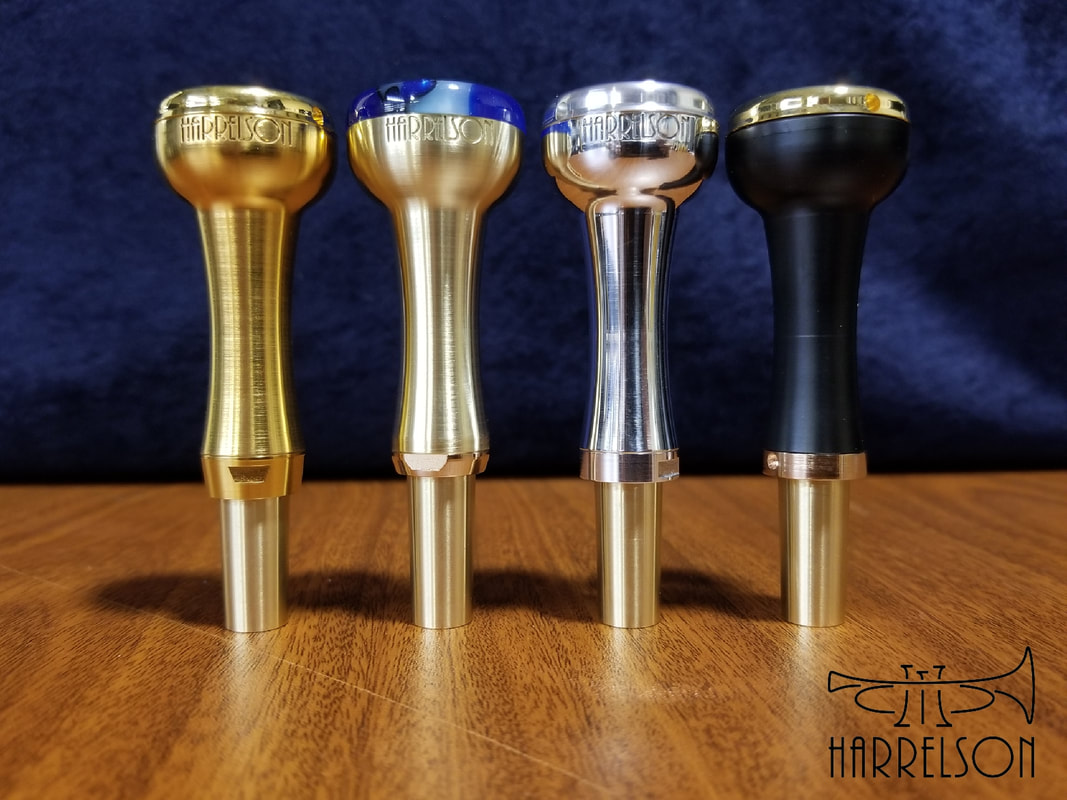


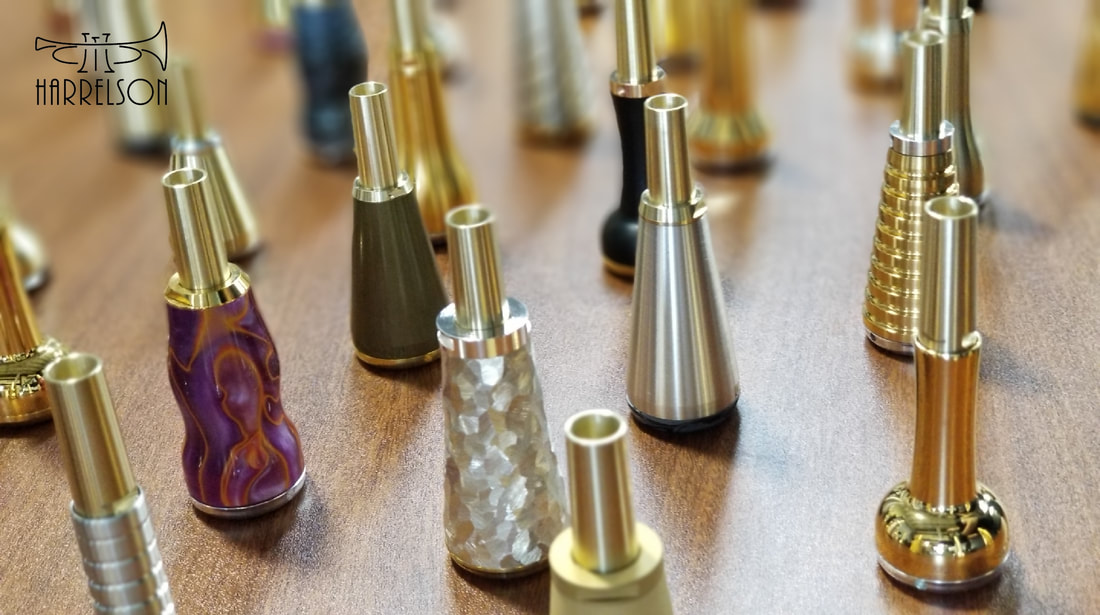
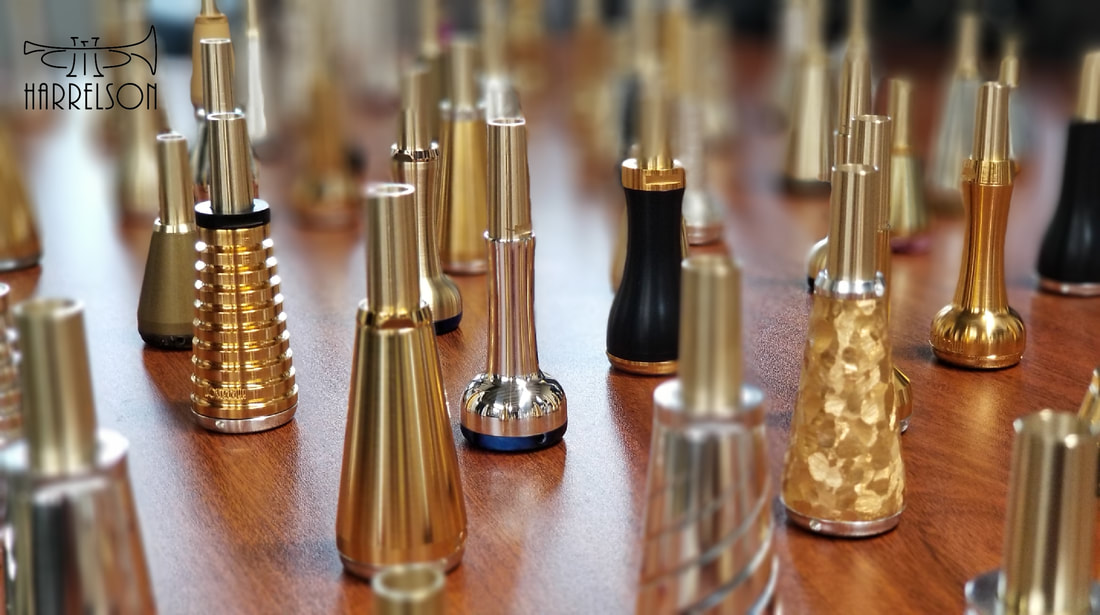

Getting to know the system

|
|

|
Assembly Instructions
The 5MM was carefully engineered to fit together perfectly every time while preventing seizing. It is important to apply a high quality silicone grease to all threads, O-ring and mating components before assembly to prevent parts from oxidizing.
1) Screw Cup into Rim
2) Press and twist Throat into Cup from the underside until O-ring is hidden
3) Slide this assembly into Body guided by Throat and screw Rim into Body
4) Screw Backbore into bottom of Body (Throat will lift flush with Cup)
5) Screw Nut into Body over Backbore
1) Screw Cup into Rim
2) Press and twist Throat into Cup from the underside until O-ring is hidden
3) Slide this assembly into Body guided by Throat and screw Rim into Body
4) Screw Backbore into bottom of Body (Throat will lift flush with Cup)
5) Screw Nut into Body over Backbore
Disassembly Instructions
Every 5MM component includes flats or holes to aid in disassembly in cases where parts were not greased and have seized together. A special 5MM spanner multi-wrench is available for purchase or use the following guidelines.
Rim Outside - 2 spanner holes
Rim Inside - 7/8" wrench
Cup - 9/16" wrench
Backbore - 3/8" wrench
Nut - 2 spanner holes
Throat - friction fit, press out from bottom
Plated parts increase friction. Screw components together and apart several times before first assembly to reduce friction and use grease liberally.
Spanner holes in Rim may be filled with epoxy for comfort on lips. Drill out if needed for disassembly.
The spanner wrench should only be used as a last resort for REMOVAL ONLY
It is not necessary to use this when installing a new rim if you follow these instructions:
The break in process is necessary with any components that have been plated silver or gold.
It is not necessary to use this when installing a new rim if you follow these instructions:
- apply silicone grease to all threads
- wrap rim in masking tape to add grip and reduce risk of scratches
- screw in cup a few times to loosen up threads
- screw into body a few times to loosen up threads
- assemble rim, cup, throat into body and tighten a few times
The break in process is necessary with any components that have been plated silver or gold.
5MM Tips
1) Settle on Rim diameter before experimenting with other components
2) Experiment with Cups first, Throats Second, Backbores third and Bodies last
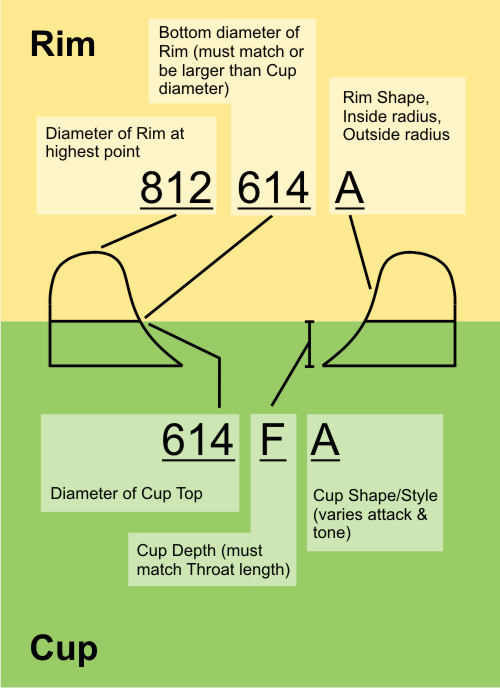
3) Cup shape options vary attack and tone
4) Larger Throat sizes build strength & coordination
5) Cup & Throat Letters must match to fit properly
6) Throat end ID & Backbore top ID must match
7) The Nut is available in every length and shape to fill external gap
8) Custom length Backbores are available for non-standard receivers
9) Matching Backbore exit diameter to leadpipe Venturi improves flexibility
10) Loosen Backbore when changing Throats & Cups
11) Piccolo, Cornet & Flugelhorn Bodies and Backbores available
12) Press Throat out with pencil if necessary.
2) Experiment with Cups first, Throats Second, Backbores third and Bodies last
3) Cup shape options vary attack and tone
4) Larger Throat sizes build strength & coordination
5) Cup & Throat Letters must match to fit properly
6) Throat end ID & Backbore top ID must match
7) The Nut is available in every length and shape to fill external gap
8) Custom length Backbores are available for non-standard receivers
9) Matching Backbore exit diameter to leadpipe Venturi improves flexibility
10) Loosen Backbore when changing Throats & Cups
11) Piccolo, Cornet & Flugelhorn Bodies and Backbores available
12) Press Throat out with pencil if necessary.
Printable 5MM Guide Small
| 5mm_instructions_small.bmp |
video tutorials
5MM Rims |
5MM Cups
|
5MM Backbores
|
5MM "Owner's Manual"
|
5MM Cup Variations - overview
|
See how the 5MM is made at Harrelson Trumpets in Denver
Production Video #1
Production Video #1

